Most people wash their car’s exterior regularly but let the interior slide until crumbs, dust, and that faint musty smell become impossible to ignore. Interior detailing isn’t complicated, but doing it properly takes more than a quick vacuum and a wipe-down. If you’ve ever paid for a professional detail and wondered what actually justifies the price tag, it’s usually the order of operations and the attention to small areas most owners skip.
Here’s a practical, step-by-step breakdown of how to detail a car interior the way a shop would, using tools and techniques that actually hold up over time.
Start With a Full Declutter
Before any cleaning product touches a surface, pull everything out. Empty the glovebox, center console, door pockets, seatback pockets, and trunk. Remove floor mats completely rather than cleaning around them.
This step matters more than people realize. Dirt and debris hide underneath items you’d normally leave in place, and you can’t properly vacuum a seat pocket that’s stuffed with receipts and old parking tickets. Take this opportunity to toss trash and relocate anything that doesn’t need to live in the car permanently.
Vacuum Before You Wipe Anything Down
Vacuuming first prevents you from smearing dust and grit around with a damp cloth later. Work through the car in a logical order: seats first, then carpets, then the areas that are easy to forget.
Areas People Typically Miss
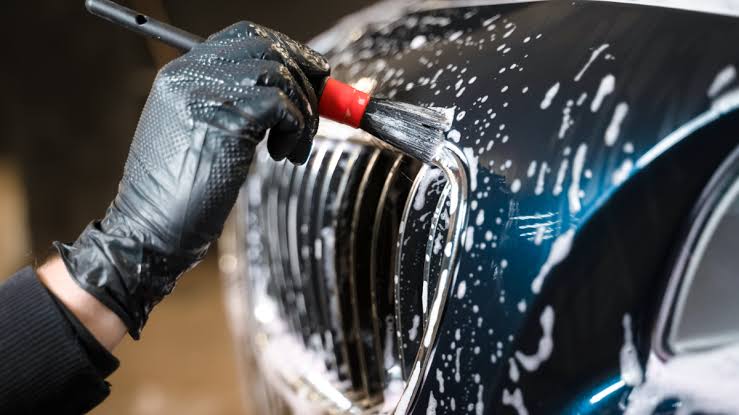
Seat tracks, the gap between the seat and center console, air vents, and the area under the pedals collect a surprising amount of debris. A vacuum with a narrow crevice attachment gets into these spots far better than a standard nozzle. For vents and tight trim gaps, a soft detailing brush paired with the vacuum works better than either tool alone — brush the dust loose while the vacuum pulls it away immediately, rather than just scattering it deeper into the vent.
If your vacuum has enough suction, run it over the headliner and pillars too. These surfaces don’t get dirty from contact, but they do accumulate airborne dust, especially in vehicles that see a lot of highway driving with windows down.
Clean the Hard Surfaces
Dashboards, door panels, center consoles, and trim pieces should be cleaned with a mild all-purpose interior cleaner, not household glass cleaner or all-purpose sprays meant for kitchens. Many general-purpose household cleaners contain ammonia, which can dry out and discolor plastic and vinyl surfaces over time, especially with repeated use.
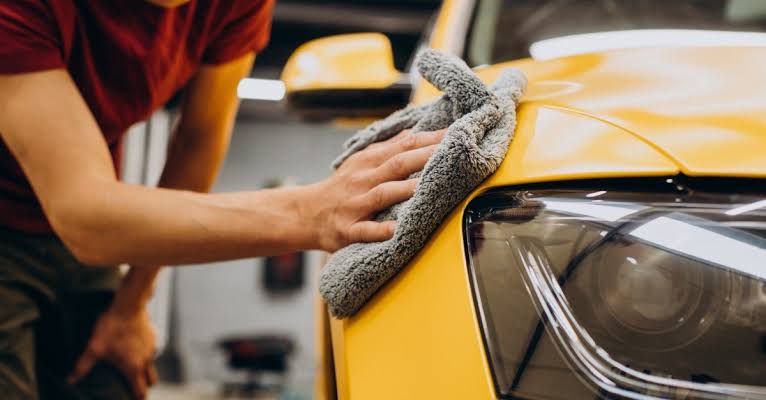
Spray the cleaner onto a microfiber cloth rather than directly onto the surface. This gives you more control and prevents liquid from pooling into vents, buttons, or seams where it can cause long-term damage to electronics or trim clips.
For textured plastic — the kind found on many modern dashboards — a detailing brush with soft bristles helps lift dust out of the grain before wiping. Wiping alone tends to push grime into the texture rather than removing it.
Screens and Electronics
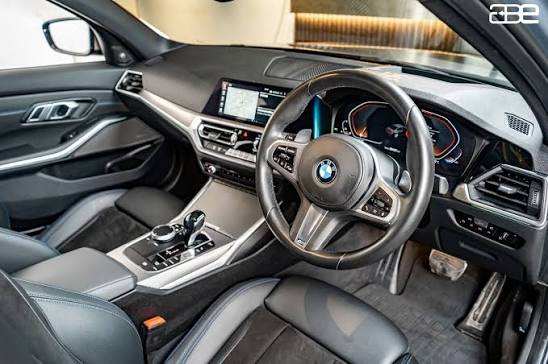
Infotainment screens and digital gauge clusters need a different approach entirely. Use a dry or slightly damp microfiber cloth with no cleaning chemicals unless the manufacturer specifically states the screen has an anti-glare or anti-fingerprint coating that’s compatible with a particular product. Many modern touchscreens use oleophobic coatings similar to smartphone screens, and harsh chemicals can degrade these coatings faster than normal wear would.
Tackle the Carpets and Floor Mats
Carpet cleaning is where a lot of detailing efforts fall short. A vacuum removes loose debris, but ground-in stains and general grime need an actual carpet or upholstery cleaner formulated for automotive use.
Apply the cleaner, let it sit for the time listed on the product (usually a few minutes), then agitate with a soft-bristle brush before extracting the moisture with a clean towel or, ideally, a wet/dry shop vac. Skipping the extraction step and letting carpets air dry naturally is one of the more common mistakes — it leaves cleaner residue behind, which actually attracts dirt faster afterward, and it can leave carpets damp long enough to develop odor.
Rubber floor mats can usually be cleaned separately with a stiffer brush and hosed off, while carpeted mats need the same treatment as the carpet itself.
Clean and Condition the Seats
The approach here depends entirely on seat material.
Cloth Seats
Cloth upholstery responds well to the same extraction method used on carpets. Spray, agitate gently, and extract. Avoid oversaturating the fabric, since moisture that seeps into the foam underneath can take days to dry and may lead to odor problems if the car sits closed up in warm weather.
Leather and Vinyl Seats
Leather needs a cleaner formulated specifically for leather, followed by a conditioner. Skipping the conditioning step is common, but it’s the difference between leather that stays supple and leather that eventually cracks. Look for a conditioner without heavy silicone content, since some silicone-based products can leave a greasy residue or make leather more slippery than it should be.
Test any leather product on a small, hidden area first. Not all leather is finished the same way, and some aftermarket seat covers or dyed leather can react unpredictably to certain cleaners.
Address Windows and Mirrors From the Inside
Interior glass fogs up with a film that’s a mix of off-gassing from plastics, condensation residue, and whatever’s in the air inside the cabin. This film is different from typical outdoor grime, so it usually takes a bit more wiping to fully clear.
Use a dedicated automotive glass cleaner rather than a household version, and apply it to the cloth instead of the glass directly. Wipe in one direction on one side of the glass and a different direction on the other side — if a streak remains, that tells you immediately which side it’s on, which saves time chasing the same streak back and forth.
Deal With Odors at the Source, Not With Cover-Ups
Air fresheners mask smells temporarily but don’t solve the underlying problem. If there’s a persistent odor, it usually comes from moisture trapped somewhere — a wet floor mat, a spill that soaked into the carpet padding, or mold growth in the HVAC system.
Baking soda left on carpets and seats overnight before vacuuming can help absorb general odors, but if you’re dealing with something like mildew or a spill that’s gone unnoticed for weeks, that area may need a proper enzyme-based odor eliminator rather than a surface treatment. Enzyme cleaners work by breaking down the organic matter causing the smell instead of just masking it, which is why they tend to outperform standard air fresheners on stubborn odors.
Finish With Trim and Final Touches
Once everything is clean, a light application of interior protectant on dashboards and trim can help guard against UV fading, but be careful with product choice here too. Overly glossy dressings look wet and shiny at first but can create glare on the windshield through reflection, which is a genuine visibility issue, not just an aesthetic preference. A satin or matte-finish protectant is generally the safer choice for dash surfaces directly in the driver’s line of sight.
Wipe down door jambs and the trunk seal area last, since these tend to get overlooked but are the first thing people notice when getting in and out of the car.
How Often Should You Detail the Interior
For most daily drivers, a full interior detail every three to four months keeps things in good shape, with a quick vacuum and wipe-down in between. Cars that see kids, pets, or frequent food and drink will need more frequent attention, particularly around carpets and seats.